Recording guide
Overview of the recording tab functionality
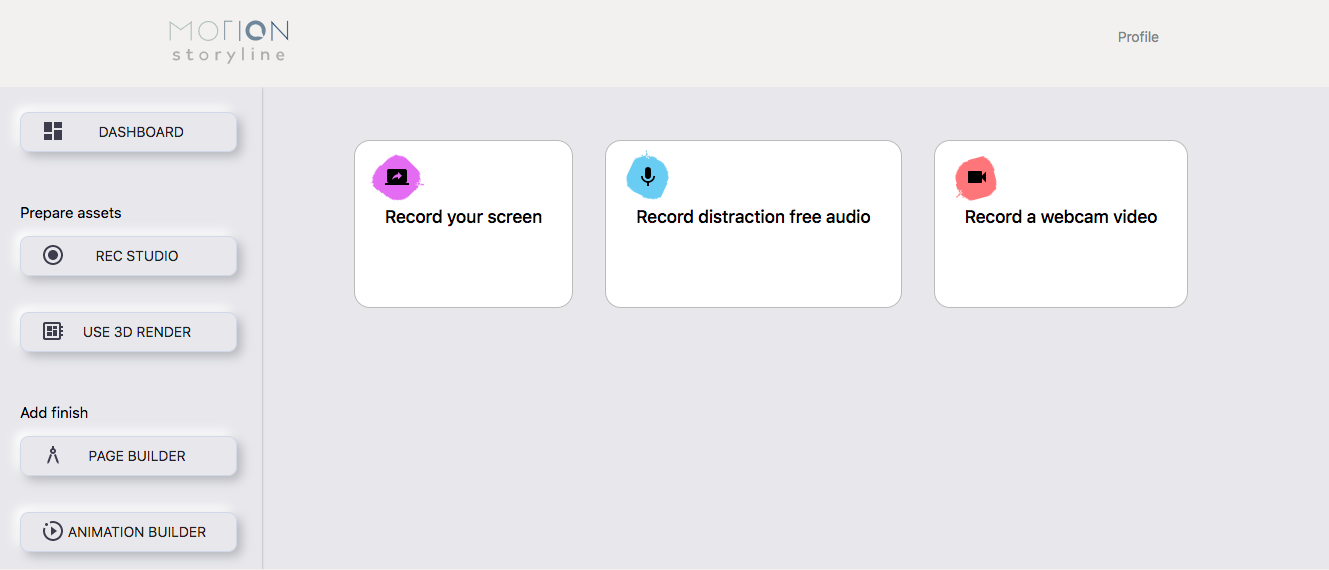
The recording tab allows users to create assets for projects. There are 3 basic types of assets that can be created.
- Screen recordings
- Video from a media capture device (i.e. laptop camera)
- Audio only
Once recorded, all assets can be immediately downloaded. You can also re-upload them back into your media tab for re-use at a later time.
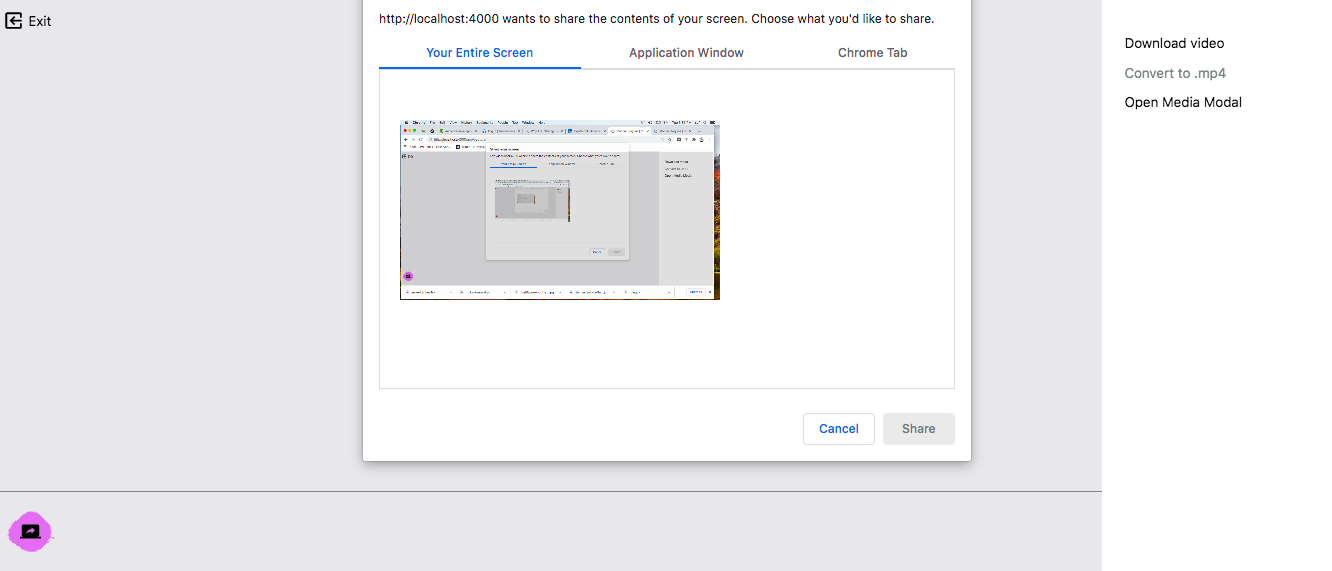


Screen recordings
Screen recordings are very powerful for recording how a software product works. Just pick a full screen option, browser tab, or a window with the software open and walk your audience through a specific aspect or feature. Break apart steps into separate recordings and use your screen recordings along with audio to guide your users through the information you wish to present, at your pace and in the order you wish to present the pieces.
Video recordings
Record yourself right from your computer video camera or connected device. A quick movie introducing yourself and anchoring your content can give your viewers a personal context to what they are viewing. Video is a familiar format to add personalized messaging - people love to see your smiling face.
Audio recordings
Record your story distraction free and guide the audience through your content or story. Audio can drive the story along in a powerful way, and visuals can create synergy with the message. Audio only format can be used with screen recordings - although screen recordings can record audio live, you may choose to re-record and replace the audio portion, or record initially with no audio and record audio separately as you watch the video.
How to guide for starting a project
Break down recordings into separate topics
For each topic, decide if your topic should be presented in a more personal, or a more structured way.
- Structured - more professional, instructional, to-the-point
- Personal - less formal, emotionally expressive, can be lengthier
All topics can be structured, or all personal, or any combination of both, but it is recommended to anchor the first topic, or start with a personalized introduction.
If anything production related (lighting, etc) is causing distractions or delaying the production, it is recommended to choose mostly structured presentations for topics unless more context is required.
It is helpful but not mandatory to create a new project and write out the content with topics (make sure each topic is a heading- it will appear bold). These are required for slide recordings.
For structured recordings:
- Decide what website page or app page you want to demo interactions from and make a walk through of one topic in your screen recording.
- For broader topics, use the open the slides of your topics and talk through the bullet point. Each topic heading you created will appear in your generated slides.
For personalized recordings:
- Set up any lighting and location you prefer, or use filters to blur out the background to reduce distractions. Refer to your slides as talking points to remind you of all the information you need to cover.
Redo any takes, if necessary
- Redo that particular topic video until you get it right - once you are happy with the video of each topic you record, download it and save it or just upload it to your media modal from within the app.
- Feel free to record all sections in one take. This may if fact save you time, especially if you are comfortable doing so. Breaking recordings into topics (as opposed to a live approach) can allow you to create a more polished feel with a structured production - however, depending on your audience, this might not be a desired effect. One take recording prevents you from making future updates without having to redo the entire project.
Combine into one video
- From within the animation builder, launch a new animation from your project (or the default template). Each section has a text placeholder and an image placeholder by default. Swap out the image for the topic video you created (preserving chronological order) and remove the text element unless you wish to have a text introduction for that video. Repeat until you have all the videos in place.
Export to social media with size presets
- If you have multiple platforms and many size variations, select all the ones you want and come back later - renders process on remote servers and your videos will appear in your media modal once they are finished rendering.
- If you need to update content in the future, just record the section needing the update and re-render.