Animation builder guide
In this guide
- Getting started with projects and templates
- Timeline controls and content editing
- Managing animation layers
- Customizing transitions and effects
- Adding audio and video
- Advanced features and export options

Getting Started
The Animation Builder is where you create animated promotional videos in Motion Storyline. After logging in, you'll land on the project selection screen where you can either work with existing projects or start fresh from a template.
Working with Projects and Templates
To work on an existing project, look for your project by name in the project list and click on it to open the animation workspace directly.
If you don't have any projects yet or want to start fresh, scroll down to "Start from template" and click on the template preview. This will create a new animation using the default template as a starting point.

Timeline and Content Editing
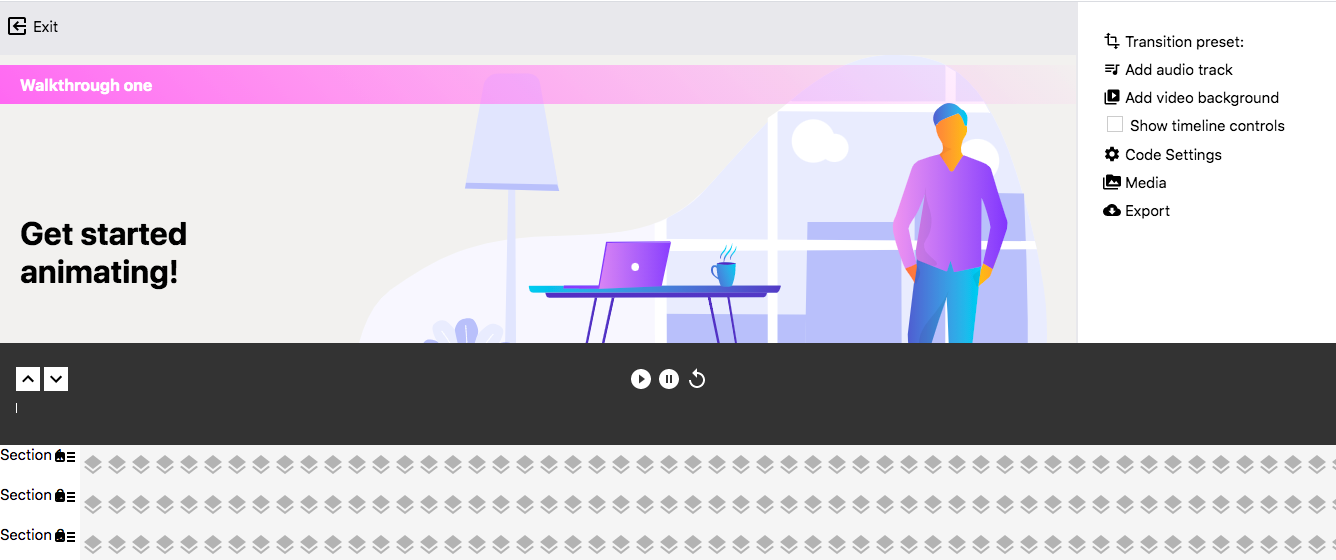
Once you're in the animation workspace, you'll see timeline controls at the bottom of the screen. These controls can expand or collapse - click the arrow icons to show just the basic playback buttons or the full timeline with all your animation layers.
Playback and Navigation
The playback controls work exactly as you'd expect: play to start the animation, pause to stop it, and restart to jump back to the beginning. You can also drag the progress bar to scrub through different parts of your animation. When you expand the timeline, you'll see individual layers for each piece of content (Hero, Description sections, Features, etc.) - click anywhere on a layer's timeline to jump directly to that moment in the animation.
Editing Your Content
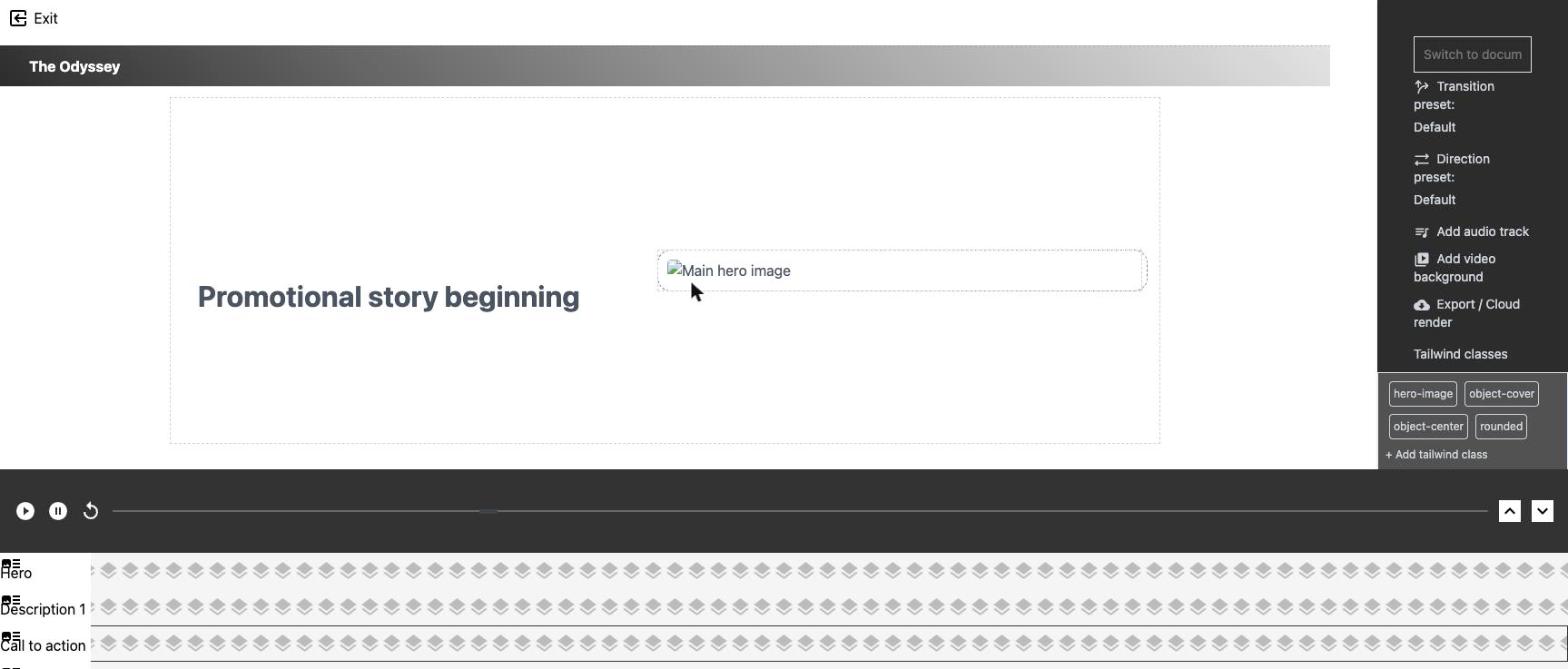
Click on any text element in your animation to start editing it directly. A formatting toolbar will appear above the element with options for bold, italic, and underline. Just start typing to replace the existing text, and your changes will appear immediately. The formatting and styling stay intact, so you don't need to worry about losing your design while you edit. You can also click on other visual elements to select them — they'll show an outline to indicate they're selected.
When you're ready to exit, click the "Exit" button in the top bar to return to your project list. Your changes are automatically saved throughout your session.
Working with Animation Layers
Your animation is built from different types of content layers that appear at specific times. Think of them as the building blocks of your video story.
Understanding Your Layers
The Hero layer is your opening content - it's always there and can't be deleted since it's the foundation of your animation. Description layers are where you explain your main points - you can have multiple description sections that play one after another. The Feature layer highlights specific product features, while the CTA layer is your call-to-action at the end. You can also add Logo, Audio, and Video layers for branding and multimedia content.
Managing Layers
When you expand the timeline, each layer shows up as a horizontal bar with its name on the left. Click the three-dot menu icon next to any layer name to see your options - you can usually delete or copy layers (except the Hero layer). The Hero layer is permanent, but Description, Feature, and CTA layers can be removed if you don't need them.
To add media layers, use the right sidebar. Click "Add audio track" to upload background music or "Add video background" for video content. These files will appear both in the timeline and as playable media controls in the sidebar.
If you want to duplicate a Description layer, click its three-dot menu and select "Copy Layer" - this creates an identical layer that you can then customize separately.
Customizing Your Animation
Transitions and Movement
In the right sidebar, you'll find controls for how your content appears and moves. Transition presets determine the visual effect - Default gives you clean fades, Circle Reveal creates expanding circular reveals, Vector Reveal uses geometric patterns, and Paint On makes content appear as if it's being drawn. Direction presets control movement — choose Left to right, Right to left, Bottom to top, or Top to bottom to slide content in from that direction, use No Direction for simple fades, or stick with Default to let the transition effect handle the movement.
Just click on either dropdown to see your options, select what you want, and the changes apply immediately to your entire animation.
Styling with Tailwind CSS
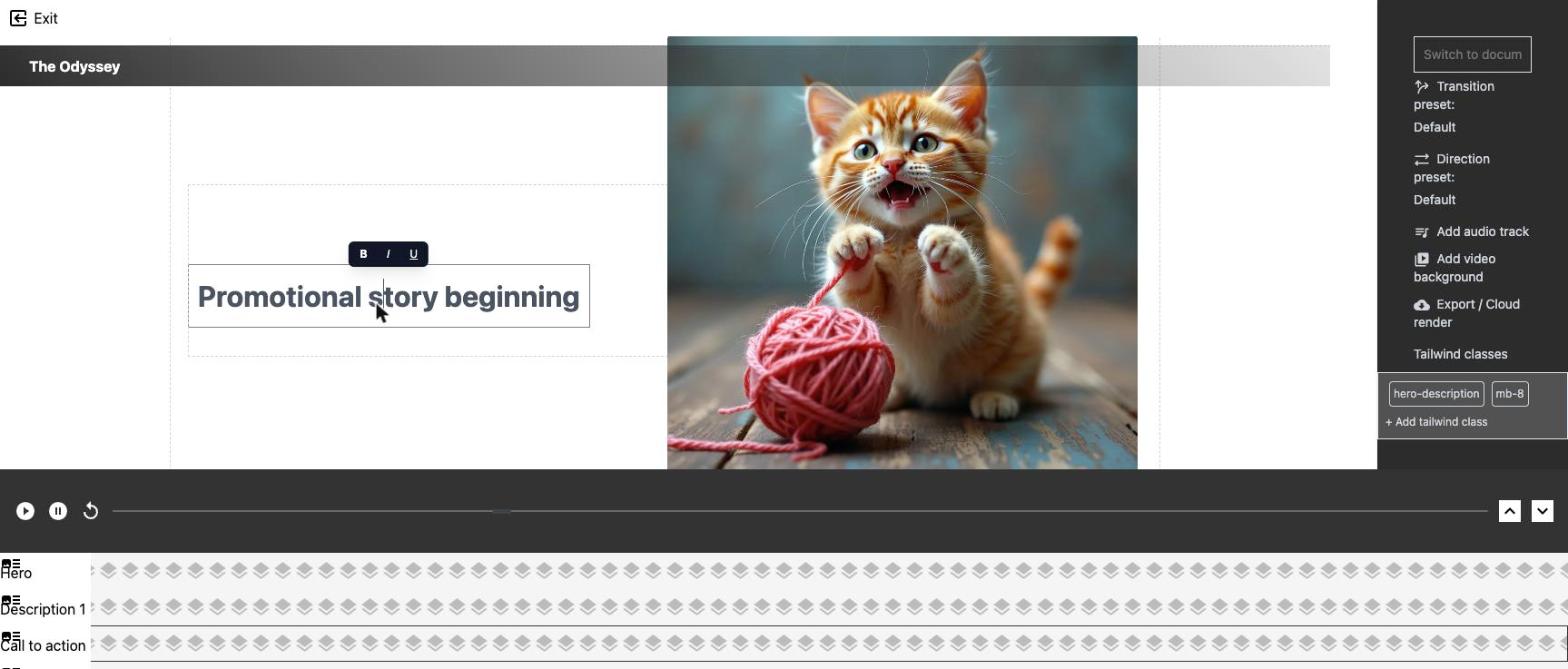
When you select any element in your animation, you'll see a "Tailwind classes" section appear in the right sidebar. This shows you what CSS classes are currently applied to that element. You can remove any class by hovering over it and clicking the ⨂ symbol that appears.
To add new styling, click "Add tailwind class" at the bottom of the list, type in a valid Tailwind CSS class name, and press Enter. Your changes appear instantly on the selected element. This is perfect for adjusting colors, spacing, fonts, or any other visual properties without needing to write custom CSS.
Visit https://tailwindcss.com/docs/ and search for a css property to refresh your memory on what tailwind classes you can use.
Visit https://tailwindcss.com/docs/ and search for a css property to refresh your memory on what tailwind classes you can use.
Adding Audio and Video
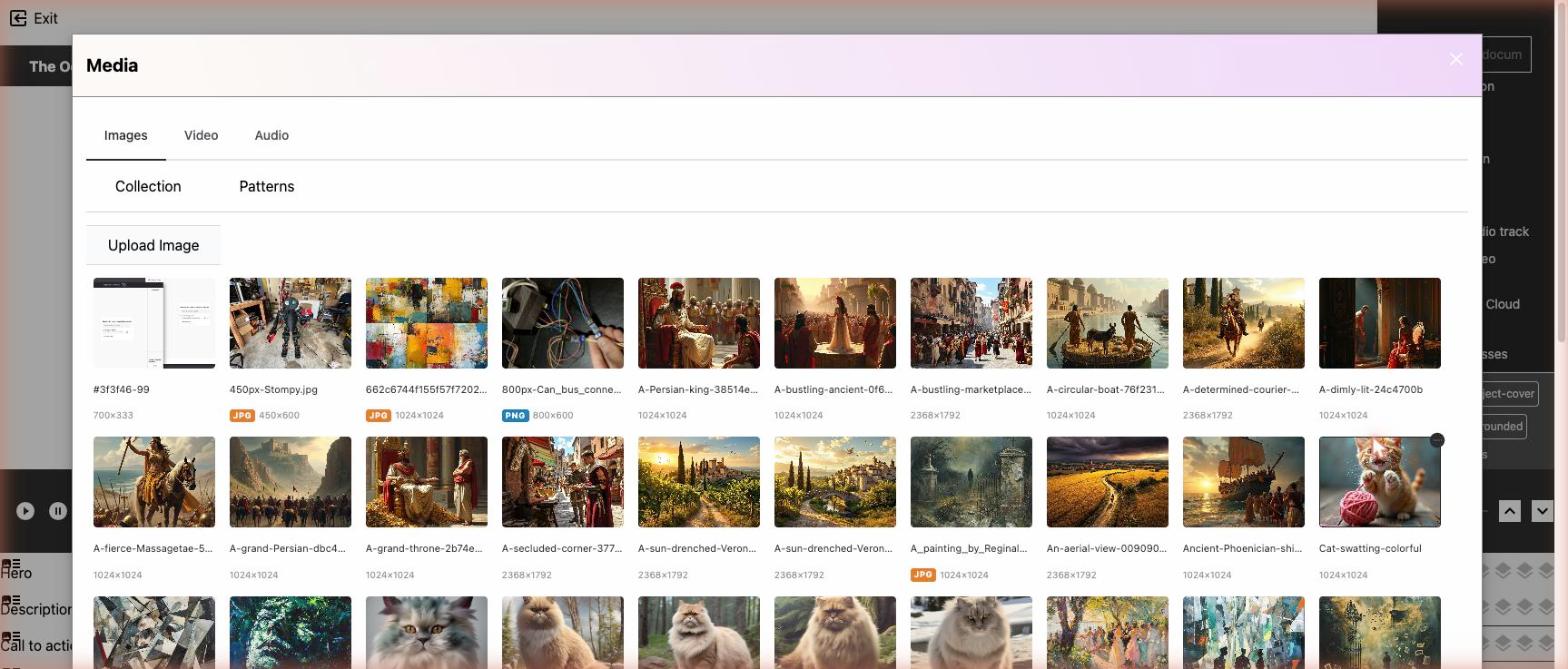
Adding media to your animation is straightforward. In the right sidebar, you'll see options to "Add audio track" (with a musical note icon) and "Add video background" (with a video camera icon). Click either one to open a file browser where you can select your audio or video files.
Once uploaded, your media files will appear in two places: as a new layer in the expanded timeline, and as playable media controls in the right sidebar. The media controls work just like you'd expect - you can play, pause, adjust volume, and scrub through the timeline. Audio and video can play independently of your animation timeline, which is helpful for testing, or they can sync with your animation for the final result.
Video backgrounds play behind all your other content, while audio provides soundtrack or voice-over for your animation. Both can be removed by using the layer options in the timeline or by managing the files through the sidebar controls.
Advanced Features and Export
Working with Multiple Documents
When you created your project from the dashboard, you likely added multiple articles to it - each article representing different content or blog entries you wanted to include. In the Animation Builder, each of these articles becomes its own separate video animation. So if your project has multiple articles, you'll see a dropdown at the top of the right sidebar.
Each document corresponds to one of your articles and is completely independent - it has its own timeline, layers, content, and settings. When you switch between documents, you're essentially moving between different videos that will each be rendered separately. This lets you create a series of related animations from a single project, where each video focuses on the content from one article.
Think of it as turning each article into its own promotional video, all organized under one project for easy management. When you switch between documents, your work on each one is automatically preserved, so you can work on multiple videos within the same session.
Developer Mode and Export Options
For advanced users, there's a "Use block level code editor" checkbox in the right sidebar that enables direct code editing of your animation. There's also a "Show timeline controls" option that lets you hide the timeline controls for cleaner presentations.
When you're ready to create your final video, click "Export / Cloud render" in the right sidebar. This opens export options where you can configure your settings and submit your animation for high-quality cloud rendering. You'll get a downloadable video file that's ready for use anywhere.
The system automatically saves your work throughout your session, but you can also manually save by clicking "Save changes" in the sidebar (this option only appears when you're working on a saved project).
Quick Tips
If you don't see a project in the Animation Builder, make sure it's set to the "promotional" theme and "video" target in its project settings. If your animation isn't loading, try selecting a different project or template and re-entering the workspace. For media upload issues, check that your files are in standard web formats (MP3, MP4, etc.) and aren't too large. If timeline controls become unresponsive, try refreshing the page.
For best performance, use a modern browser and consider compressing large media files before upload. When creating content, plan your layer structure ahead of time and keep timing consistent between layers for the smoothest viewing experience.