Custom code guide
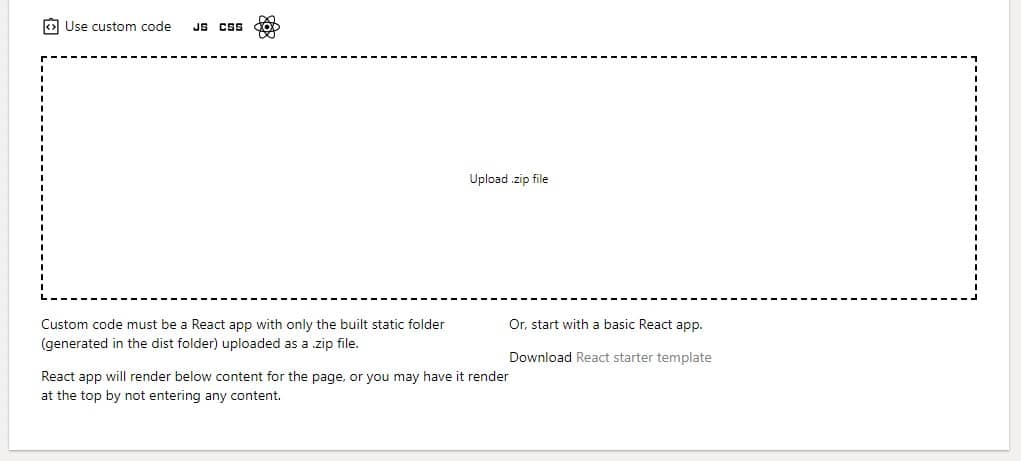
Uploading custom code
Custom code behaves differently based on the theme of your project. Promotional projects on the top level can be replaced with completely custom code.
This works well to create a home page, and page builder exports (such as webflow) work well to pair with landing pages created in Motion Storyline.
Projects with other themes or task pages do not replace the entire page with the custom code you upload. Instead your custom code will be inserted onto the page along with the content normally generated for your page.
Project pages
For promotional projects, you can set a webflow export or custom built html project as the main page.
The entire page is replaced by the uploaded code. This is recommended if you wish to publish a home page created from an html template, static site builder, or page builder such as Framer, Webflow, or builder of preference.
Article pages
Article pages will still render the shell they would without custom code, and the custom code is rendered as a React app in the main section part of the page. The custom React app will render below any descriptions, features, or content you have for the page. If you prefer for the React app to render at the top and control the content information, remove any descriptions, features, or content from the user admin.
Note: example apps are given and custom code can break. Please note the general format and think of it like a full width content section on a page.
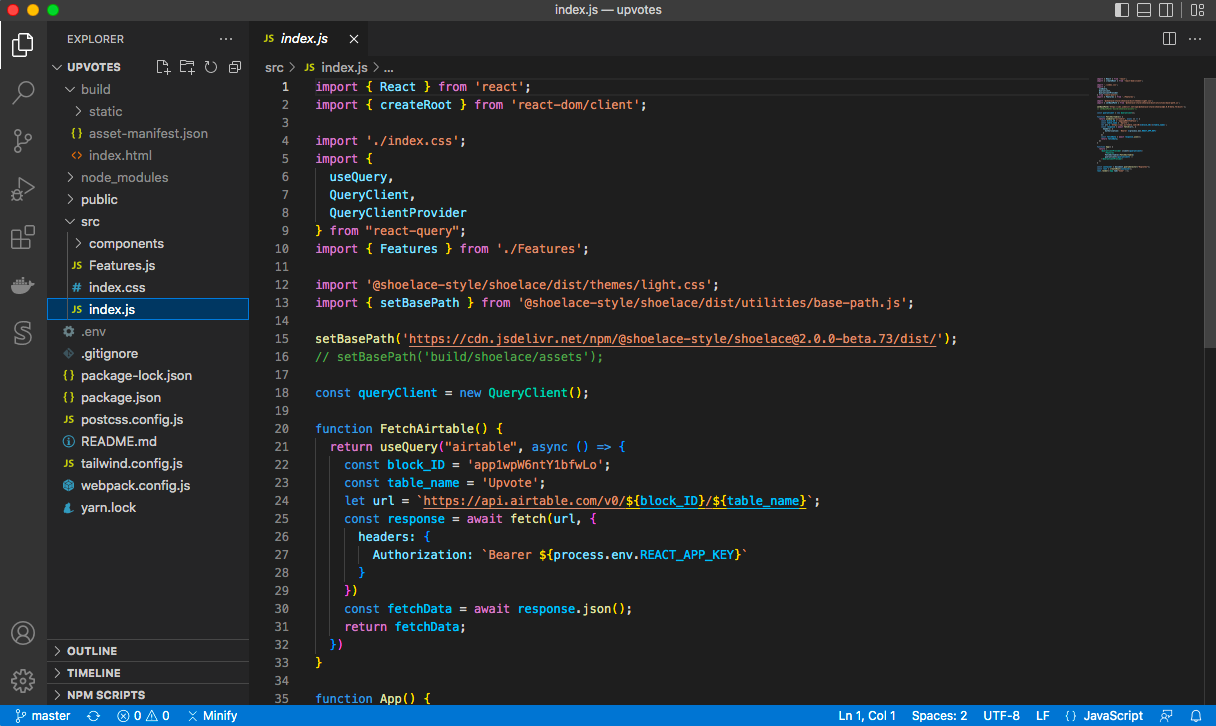
React app inside shell example using Airtable: link
Note: example apps are given and custom code can break. Please note the general format and think of it like a full width content section on a page.
React app inside shell example using Airtable: link
Prepare your React projects
Be sure all images begin with '/assets/', for example 
You will need to build your project and zip into a single .zip file to upload. Be sure you have a final version.
For article pages - the .zip file should be the static folder. Omit the build folder with its contents including the index.html. Instead the app will inject onto the page generated by Motion Storyline. In addition, the React app must mount to the div with id set to "custom-app". For the upvote example you will need to update the mount id from "upvotes".
For project pages- the .zip file folder will automatically be scanned for an index.html
Download the starter template
Get started by using the downloadable template from the custom code section. This will include the basics to get started.
Remember to mount the app to "custom-app" instead of "react-app" or other default names.
Images must be put into the correct folder (see above).
The recommended build tool used in the starter template is Vite.
Remember to mount the app to "custom-app" instead of "react-app" or other default names.
Images must be put into the correct folder (see above).
The recommended build tool used in the starter template is Vite.